1.0 Getting Started with the SIMPLIS MDM Tutorial
- A power inductor design for a buck converter
- A power transformer design for a self-oscillating flyback converter
In this topic:
1.1 Focus of the MDM Tutorial
This tutorial focuses on using the SIMPLIS Magentics Design Module (MDM) to do the physical design of inductors and transformers using standard magnetic parts (cores, bobbins, and wires). It is assumed that the circuit design has already been completed and that the requirements for the magnetic devices are already known. For inductors these requirements include the desired inductance and peak and maximum RMS current requirements. For transformers these include the primary inductance, all turns ratios, and the peak and maximum RMS current in each winding. Naturally, in a real power supply design process, the electrical and magnetic design processes are typically highly interactive and are rarely nicely sequential; the choice and availability of magnetic parts can exert a strong influence on the electrical circuit design. In order to keep this tutorial short and focused on introducing the capabilities of SIMPLIS MDM, the electrical circuit design is considered fixed, as are the design requirements for each magnetic device.
However, even with a fixed set of magnetic device requirements, the design of a power supply and its magnetic devices is an iterative process. That is, it is simple to start at the electrical requirements of a magnetic device, say the nominal inductance and saturation current for an inductor. From this logical starting point, you can design the magnetic device, which will most certainly have a different nominal inductance and saturation current. Even with a simple set of electrical requirements for a magnetic device, say the nominal inductance and saturation current for an inductor, there are a vast array of magnetic device designs that will satisfy these requirements. However, once placed in the application circuit, their performance can differ widely from one design to the next. The iterative process now begins. Using SIMPLIS MDM, the electrical model for the magnetic device is written to the schematic where the electrical performance of the device can be simulated and the losses predicted. By referencing the electrical performance of the initial magnetic design, the magnetic device design can be refined and optimized. This tutorial walks you through this iterative design process.
▲ back to top1.2 Before you begin
This tutorial assumes that you are already familiar with SIMetrix/SIMPLIS. This tutorial focuses solely on helping you get started with the SIMPLIS Magnetics Design Module (MDM). If you are new to SIMetrix/SIMPLIS, it is highly recommended that you first go through the SIMPLIS Tutorial. Once you have completed the SIMPLIS tutorial you will be prepared to proceed with the SIMPLIS MDM tutorial.
1.2.1 Simulator
It is important to note that SIMPLIS MDM works with the SIMPLIS simulator ONLY. MDM is not currently compatible with the SIMetrix SPICE simulator.
1.2.2 Downloading and Extracting the Example Files
To download the examples for the MDM tutorial,
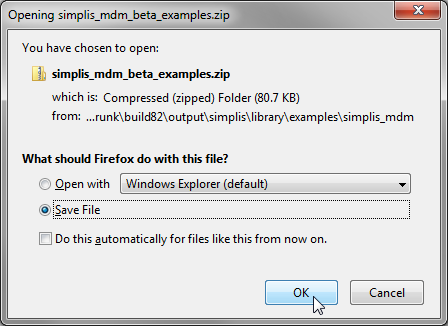
- Click on simplis_mdm_examples.zip.
- On the resulting dialog, select Open with Windows Explorer.
- On the Explorer window, select Extract all files.
 Extract the files to C:\SIMPLIS MDM or some
other location on your computer.
Extract the files to C:\SIMPLIS MDM or some
other location on your computer. 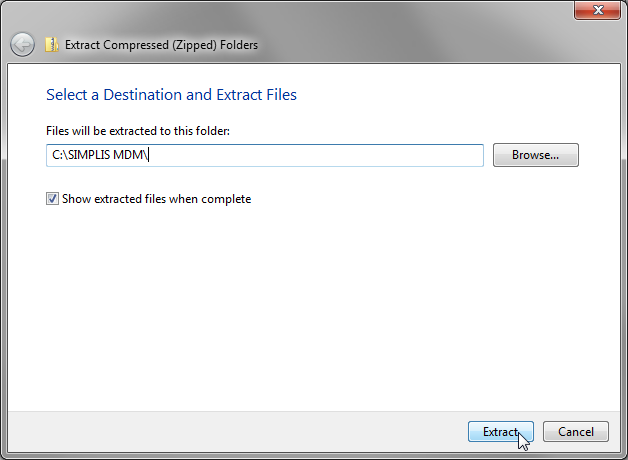 Result: The individual schematic files will be located in C:\SIMPLIS MDM\.
1.2.3 Feedback Welcome
SIMPLIS welcomes your feedback (positive, negative, bugs, etc.) regarding this tutorial. To send comments, click here.
1.3 Tips for Navigating this Tutorial
The SIMPLIS MDM beta tutorial is structured similarly to other SIMPLIS documentation. If you are already an experienced SIMPLIS user, feel free to skip this section.
1.3.1 Navigation Conventions
Topics with subsections include a mini table of contents at the top of the page, similar to:
In this topic:
At the end of each section is a back-to-top link that you can use to return to the table of contents.
At the top of each page is a navigation bar indicating the hierarchical path of the current topic in the documentation system:

This path is updated every time you change topics, and each portion of text is a hyperlink which will take you to that topic or section of the larger documentation system.
On the right hand side of the navigation bar are two buttons which allow you to navigate within the tutorial.
- The
 arrow goes to the previous topic
in the tutorial.
arrow goes to the previous topic
in the tutorial. - The
 arrow goes to the next topic in
the tutorial.
arrow goes to the next topic in
the tutorial.
1.3.2 Text Conventions
The following text conventions are designed to help you scan the content:
- Bold text usually indicates something that you are to select on the screen or to type on the keyboard. File names are also in bold.
- Result information appears in green italic text to indicate what
should occur after you complete the instructions in a numbered step.Result: Green italic text ...
- Menu selections appear with a > separating the menu items. For
example, indicates the following instruction:
From the menu bar, click File and then select Save Schematic .
1.3.3 Schematic Images
- The Hide grid option is off by default. Leaving the grid visible as you work can help you place symbols and wire them together on the schematic.
- The Schematic editor menu turns on and off the grid.